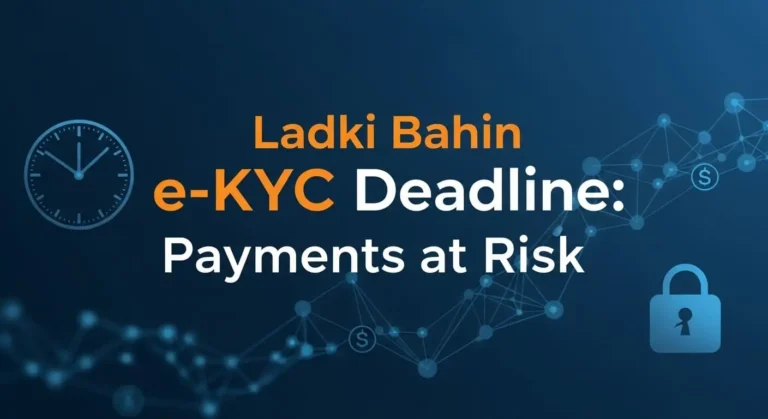
Ladki Bahin Yojana: e-KYC Deadline Extended to Dec 31 2025
You are already aware of the significance of the monthly financial assistance if you or a member of your family is enrolled in the Ladki Bahin Yojana. The issue? The failure to update their e-KYC on time put thousands of women at risk of losing their benefits.
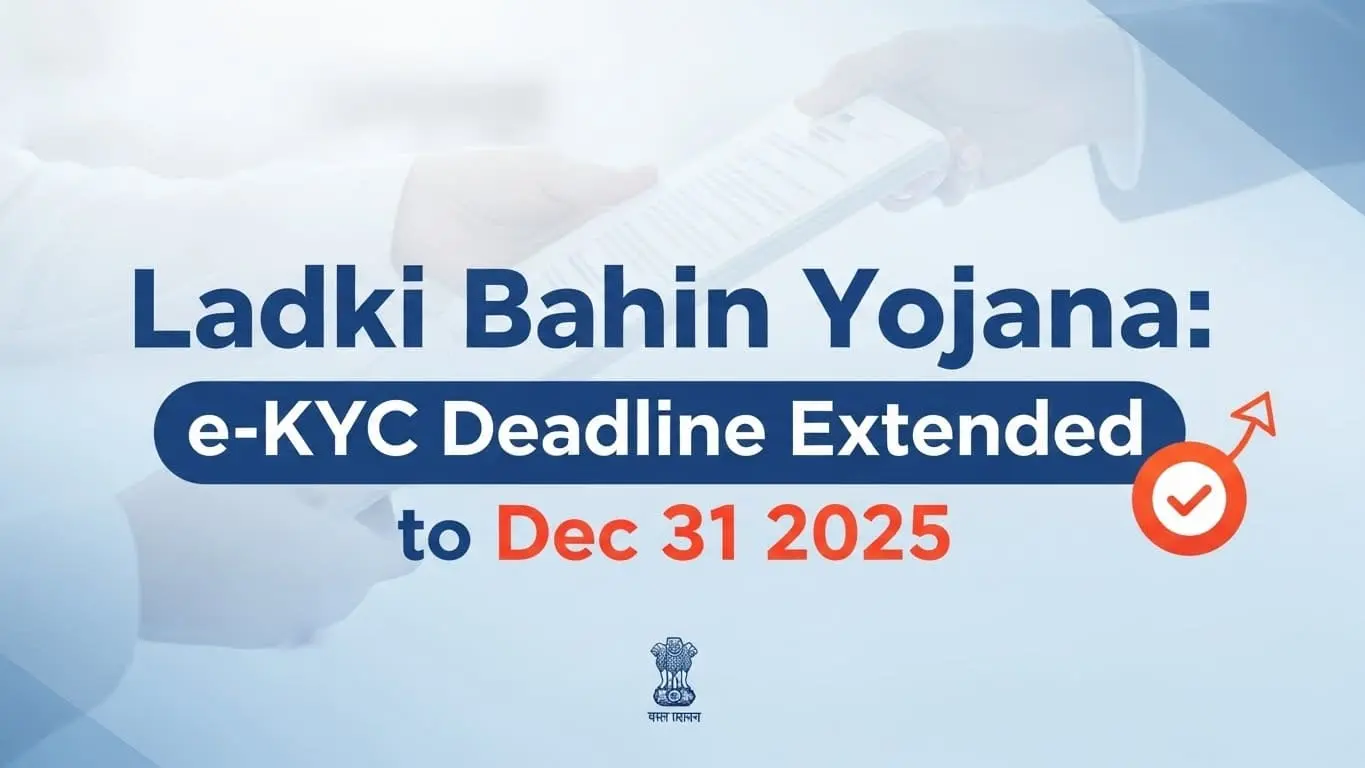
The e-KYC deadline has finally been extended by the government to December 31, 2025, allowing all beneficiaries enough time to finish the process without fear.
You’ll learn what this extension means for you, the significance of e-KYC, and the precise procedures for a seamless upgrade in this tutorial. Avoid using jargon. No misunderstanding. Just straightforward, useful advice.
What the New e-KYC Deadline Means
The extension to Dec 31, 2025, isn’t just a date change—it’s a lifeline for beneficiaries who struggled with server issues, long queues, or incomplete documents.
With this new deadline, you now have:
Why e-KYC Is Critical for Ladki Bahin Yojana
Every welfare scheme eventually tightens its verification system, and for Ladki Bahin Yojana, e-KYC is the backbone of transparency. It helps ensure:
- Your identity is verified
- Your bank details match your Aadhaar
- Payments reach the right person
- No duplicate beneficiaries are added
Who Must Complete e-KYC?
You need to update your e-KYC if:
- You are a new applicant
- You registered earlier but never completed KYC
- You changed your mobile number or bank account
- You received an SMS or notice asking for KYC re-verification
Step-by-Step Guide to Complete e-KYC
You don’t need any special knowledge—just follow these simple steps:
Step 1: Keep These Documents Ready
- Aadhaar card
- Registered mobile number
- Bank account linked with Aadhaar
Having everything ready saves time and errors.
Step 2: Visit Your Nearest CSC Center
Because biometric verification is required, e-KYC must be done through a CSC (Common Service Center) or authorized verification point.
Step 3: Biometric Authentication
The operator will scan your fingerprint or iris.
This confirms your identity instantly.
Step 4: Verify Your Details
Make sure your:
- Name
- Mobile number
- Bank account
- Aadhaar details
Step 5: Collect the Acknowledgement Slip
Never leave without it.
This slip is your proof that e-KYC is successfully updated.
Common Problems You Might Face (and How to Fix Them)
Here are the issues most women experience and how you can avoid them:
Aadhaar Not Linked with Mobile
Visit any Aadhaar Seva Kendra to update it before KYC.
Biometric Not Matching
Wash/dry your hands properly before scanning.
If still failing, ask the operator to try iris scanning instead of fingerprints.
Name Mismatch Between Bank & Aadhaar
Update either Aadhaar or bank records to match exactly—even one letter matters.
Tips to Make Your e-KYC Smooth and Quick
These small steps reduce delays and ensure everything is completed in a single visit.